To make turkey gravy from drippings, pour the pan juices into a measuring cup, let the fat rise, and spoon some of it back into the roasting pan. Whisk in flour to make a roux, then add the defatted juices and warm stock a little at a time, scraping up the browned bits as you go. Simmer until it coats a spoon, season, and strain.
That’s the whole job, and it takes about 15 minutes while the turkey rests. The trick is doing each step in the right order, so nothing turns lumpy, greasy or thin.
Below you’ll find the full method, how to choose between a flour roux and a cornstarch slurry, quick rescues for common gravy problems, and a make-ahead plan that takes the pressure off the last half hour.
Key takeaways
- Separate the fat from the drippings first; you’ll use some of it for the roux and discard the rest.
- A classic starting ratio is 2 tablespoons fat, 3 tablespoons flour and 1 cup hot liquid, per University of Wyoming Extension.
- Add liquid gradually and whisk constantly; that’s what keeps gravy smooth.
- Cornstarch thickens about twice as much as flour, but flour-thickened gravy reheats better.
- Refrigerate gravy within 2 hours and use it within 3 to 4 days; reheat to a rolling boil.
In this guide
- What you need
- Roux or slurry: pick your thickener
- How to make turkey gravy from drippings
- Fixing lumpy, thin or greasy gravy
- Make-ahead gravy and storage
- FAQ
- Your gravy game plan for the big day
What you need
This makes about 4 cups, enough for 8 to 10 people with a little left over for sandwiches. Scale it up by keeping the fat, flour and liquid in the same proportions.
- Drippings from one roast turkey, including all the browned bits in the pan
- About 1/2 cup turkey fat, skimmed from the drippings (top up with butter if you’re short)
- 3/4 cup all-purpose flour
- 4 cups hot liquid: the defatted pan juices plus turkey or chicken stock
- 1/2 cup dry white wine, dry vermouth or extra stock for deglazing
- A sprig of thyme or sage, salt and black pepper
- Optional: a splash of soy sauce, a teaspoon of cider vinegar, or a spoonful of cream
Tools that help
- A fat separator, or a heatproof glass measuring cup and a ladle
- A flat whisk, which reaches into the corners of a roasting pan
- A fine-mesh sieve for the final strain
- A saucepan, if your roasting pan won’t sit flat over two burners
Roux or slurry: pick your thickener
Almost every gravy is thickened one of two ways. Both work. They just behave a little differently on the stove and in the fridge.
| Flour roux | Cornstarch slurry | |
|---|---|---|
| How it works | Flour cooked in fat, then liquid whisked in | Cornstarch stirred into cold liquid, then added to simmering gravy |
| Starting amount | 3 tbsp flour and 2 tbsp fat per 1 cup liquid | 1 tbsp cornstarch in 1 to 2 tbsp cool liquid |
| Look and texture | Opaque, velvety, classic | Glossier and more translucent |
| Flavor | Toasty if the roux browns a little | Neutral |
| Reheating | Holds up well | Can thin out |
| Best for | Make-ahead and traditional gravy | Last-minute thickening or gluten-free gravy |
The ratios come from University of Wyoming Extension, which also notes that cornstarch has twice the thickening power of flour and that cornstarch-thickened gravy can thin and lose consistency when reheated. That’s why a roux is the safer choice if you’re making gravy ahead.
The Wyoming ratio gives a fairly thick gravy, which is exactly what you want to start with. It’s much easier to loosen gravy with a splash of stock at the end than to thicken a thin one.
Gravy is built, not rescued. Get the fat, flour and liquid in the right order and there’s nothing to fix.
How to make turkey gravy from drippings
Start once the turkey comes out of the oven and is resting under loose foil. You have time: the bird needs to rest anyway.
Separate and deglaze
- Pour off the drippings. Tip everything liquid from the roasting pan into a fat separator or glass measuring cup. Leave the browned, sticky bits in the pan.
- Let the fat rise. After 5 to 10 minutes the fat forms a clear golden layer on top. Pour the juices from the bottom of the separator, or ladle the fat off the top into a small bowl.
- Deglaze the pan. Set the roasting pan over two burners on medium. Add the wine or 1/2 cup stock and scrape hard with a wooden spoon or flat whisk until every brown bit has dissolved. Let it bubble for a minute.
- Save the liquid. Pour this deglazing liquid into the defatted juices. If your pan is thin or doesn’t sit well on the stove, do the next steps in a saucepan instead.
Build the roux and simmer
- Measure the fat. Put about 1/2 cup of the turkey fat into the pan or saucepan over medium-low heat. Make up any shortfall with butter.
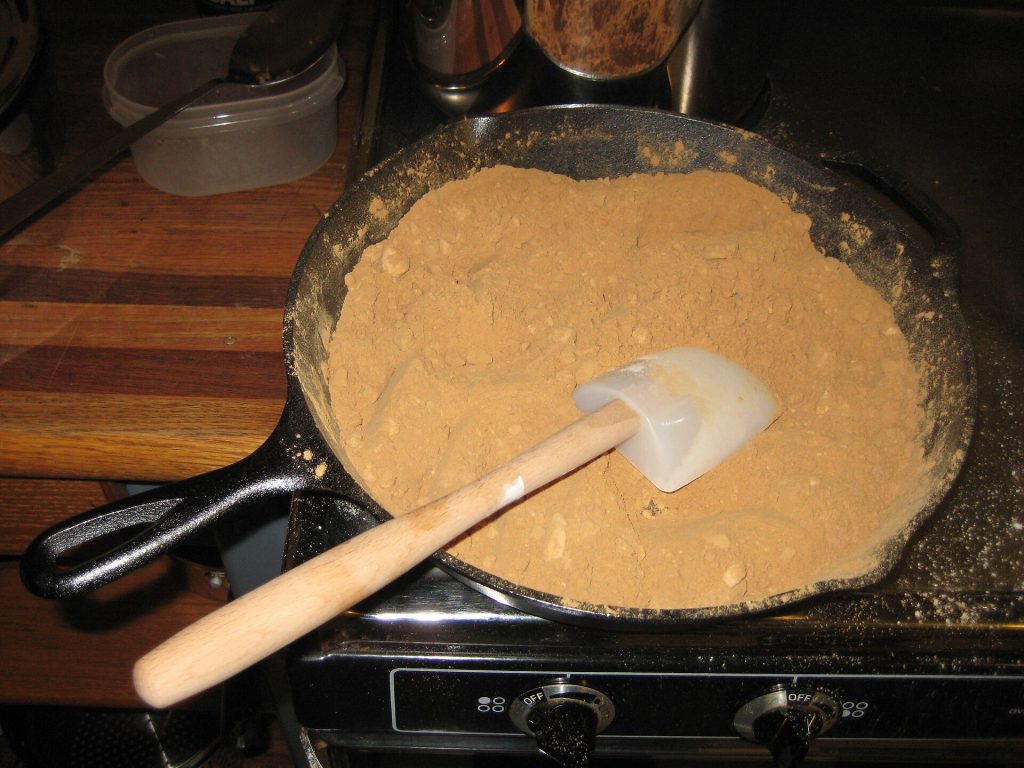
- Add the flour. Sprinkle in the flour and whisk until it looks like wet sand. Cook, whisking, for 1 to 2 minutes so it loses its raw taste, without letting it burn.
- Add liquid slowly. Combine the defatted juices with enough hot stock to make 4 cups. Whisk in about 1/2 cup first; it will seize into a thick paste. Keep whisking and add the rest a ladle at a time.
- Simmer. Drop in the herb sprig and let it bubble gently for 5 to 10 minutes, whisking now and then, until it coats the back of a spoon.
- Season last. Pan juices are often salty from a brine or seasoned skin, so taste before adding any salt. Add pepper, and a few drops of soy sauce or vinegar if it tastes flat.
- Strain. Pour through a fine sieve into a warm gravy boat or small pot. Keep it covered on the lowest heat until serving.
Adding the first half cup of liquid to the roux, then the rest gradually, is the step University of Wyoming Extension highlights for preventing lumps. Dumping it all in at once is the most common reason gravy goes wrong.
Not enough drippings
Smaller birds, turkey breasts and spatchcocked turkeys often give very little liquid. That’s fine. Make up the volume with stock, and use butter for any missing fat. Roasting the neck and giblets alongside the turkey, or simmering them in stock while it cooks, gives you a richer stock to work with.
Fixing lumpy, thin or greasy gravy
Even careful cooks hit a snag now and then. Most gravy problems take a minute or two to fix.
Lumpy gravy
Pour it through a fine-mesh sieve, pressing on the solids, or blend it briefly with a stick blender. Both fixes come straight from Wyoming Extension’s guidance. Then bring it back to a simmer.
Thin gravy
- Simmer it longer, uncovered, to reduce.
- Or stir 1 tablespoon cornstarch into 1 to 2 tablespoons cold water or stock, whisk it into the simmering gravy, and cook for a minute or two. Repeat only if needed.
- Or mash equal parts soft butter and flour into a paste and whisk in small pieces until it thickens.
Thick gravy
Whisk in hot stock a couple of tablespoons at a time. Gravy also thickens as it stands, so aim slightly thinner than you think you want.
Greasy gravy
If a slick of fat pools on top, tilt the pan and spoon it off, or lay a paper towel on the surface for a second to blot it. Next time, measure the fat for the roux rather than pouring it straight from the pan.
Pale or bland gravy
A little soy sauce adds color and depth. So does a longer-cooked roux. A splash of cider vinegar or lemon juice brightens gravy that tastes heavy.
Make-ahead gravy and storage
Make-ahead gravy is the best stress-reducer on a holiday menu. Roast a few turkey wings a day or two ahead, make a stock from them, and use that stock to make the gravy with butter in place of turkey fat. On the day, deglaze the roasting pan and whisk those browned bits and juices into the reheated gravy for fresh-roasted flavor.
Storing leftovers safely
- USDA’s turkey roasting guidance says to discard turkey, stuffing and gravy left at room temperature longer than 2 hours, or 1 hour above 90°F.
- Refrigerated gravy should be used within 3 to 4 days, according to the same guide. For freezing, it advises using it within 2 to 6 months for best quality.
- Cool it quickly in a shallow container rather than a deep pot.
When you reheat, USDA’s leftovers guidance says to bring sauces, soups and gravies to a rolling boil. Whisk well as it heats, since a flour-thickened gravy may look separated at first and comes back together as it warms. Thin with stock if needed.
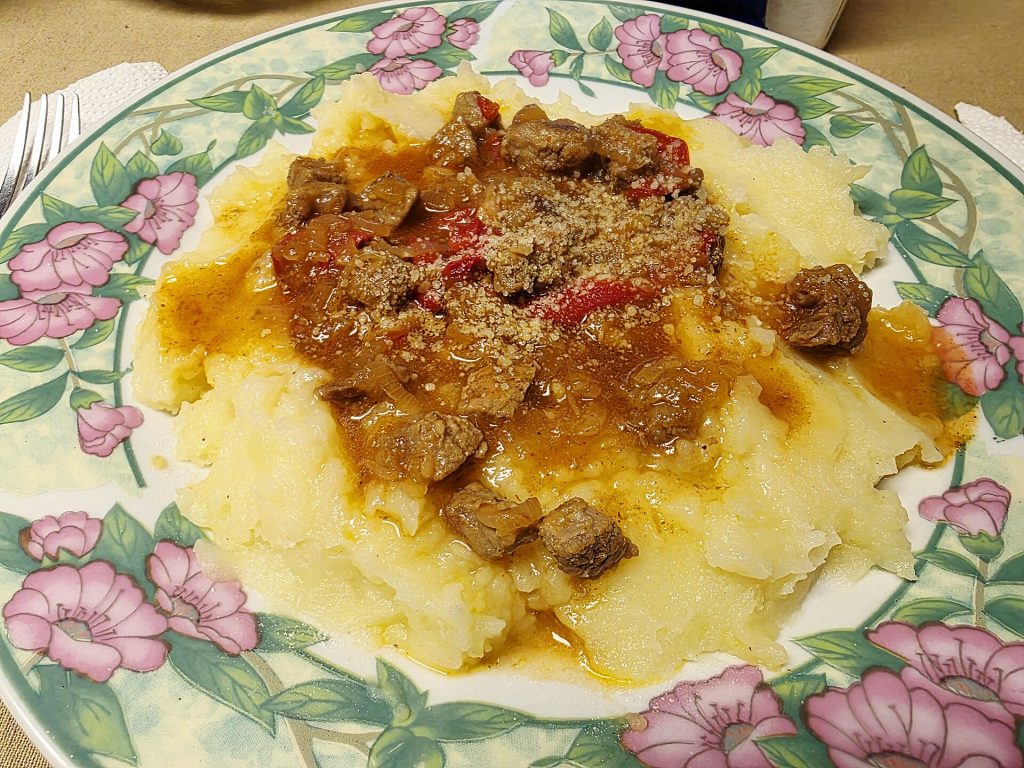
Leftover gravy has plenty of uses beyond the second turkey dinner: pour it over creamy mashed potatoes, use it in hot turkey sandwiches or stir it into a shepherd’s pie.
FAQ
Can I make gravy without drippings?
Yes. Use butter as the fat and a good turkey or chicken stock as the liquid. Browning the roux a little longer gives more color and depth.
Should I use flour or cornstarch?
Flour for classic, make-ahead gravy that reheats well. Cornstarch for a quick gluten-free option or a last-minute fix, keeping in mind it’s roughly twice as strong.
Why is my gravy salty?
Drippings from a brined or salted turkey are concentrated. Use unsalted or low-sodium stock and taste before adding any salt. If it’s already too salty, add more unsalted stock and thicken slightly.
How much gravy per person?
Plan roughly 1/3 to 1/2 cup per guest, more if you want leftovers for sandwiches.
Your gravy game plan for the big day
Before the day, set out your fat separator, flat whisk and sieve, and make sure you have a quart of good stock in the fridge. When the turkey comes out, follow the steps above in order and the gravy will be ready by the time it’s carved. For more holiday cooking, browse our recipe collection or read our roast turkey guide.
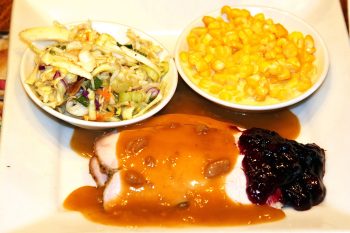
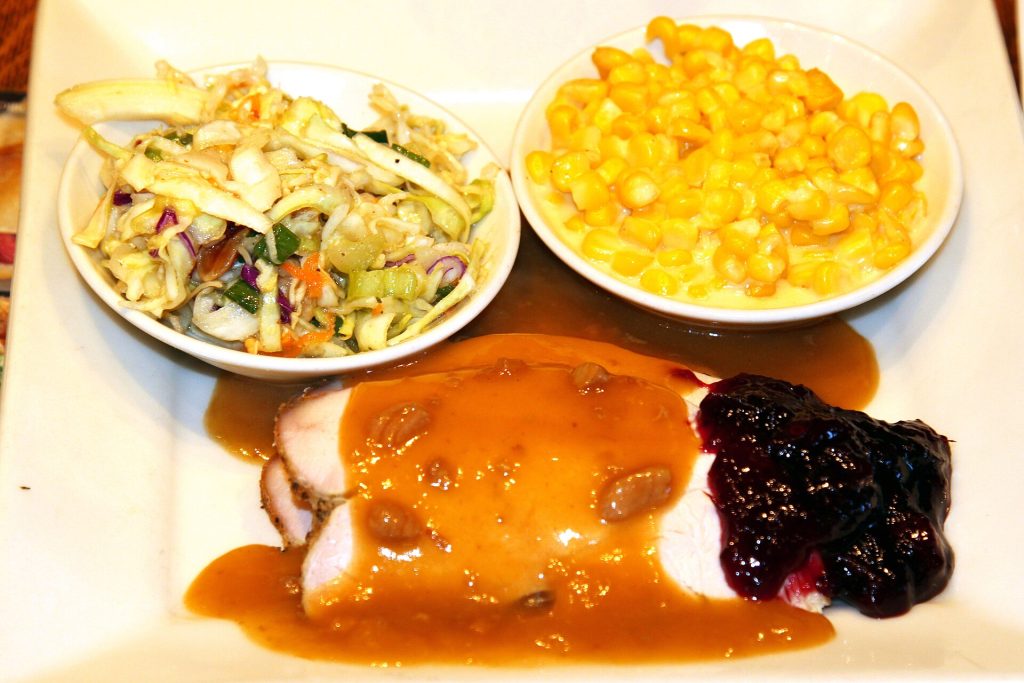
Featured photo: Turkey with gravy and cranberry sauce, with side dishes of creamed corn and coleslaw by Prayitno / Thank you for (12 millions +) view from Los Angeles, USA, BY 2.0.