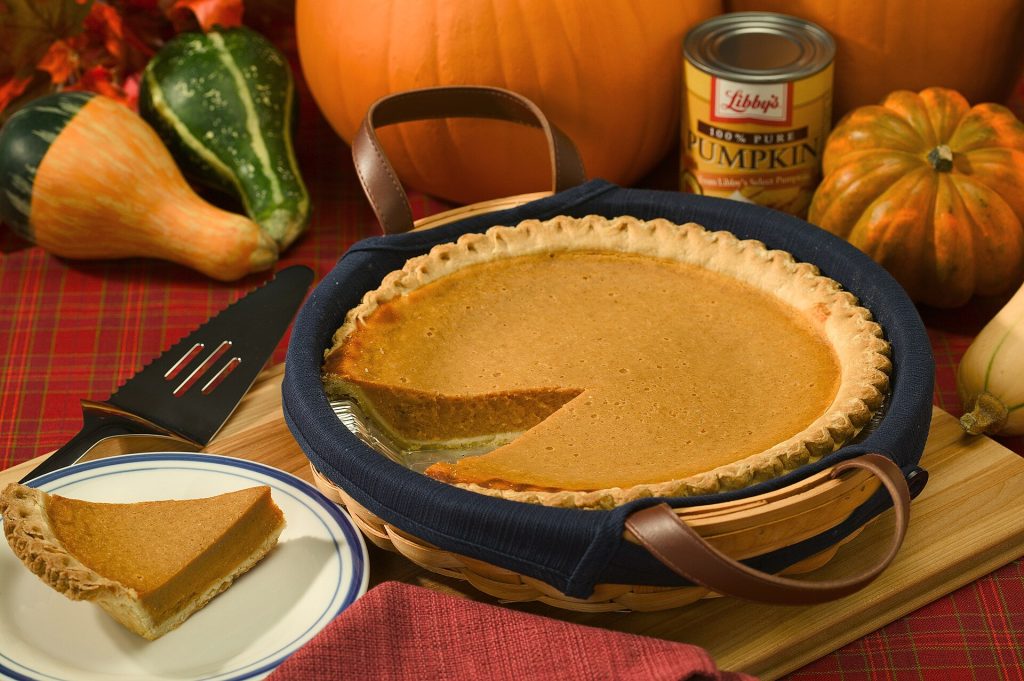
Making pumpkin pie from scratch comes down to four jobs: roast a small sugar pumpkin until soft and purée it, whisk it into a custard of eggs, cream and spice, bake the filling in a crust you’ve partly baked first, and pull the pie while the center still wobbles. It cools, sets, then goes into the fridge, because pumpkin pie is an egg custard and has to be kept cold.
None of it is hard. The real difference between a good pie and a great one is moisture: a drier purée, a crisp crust and a custard that isn’t overbaked.
Here’s each step in order, with the reasons behind it, so you can adjust on the fly when your pumpkin is wetter or your oven runs hot.
Key takeaways
- Small sugar or pie pumpkins make better purée than big carving pumpkins, which are watery and stringy.
- Most canned pumpkin comes from the ‘Dickinson’ pumpkin, a tan-skinned variety in the same species as butternut squash.
- Drain fresh purée until it’s thick; excess water leads to a soft crust and a weepy filling.
- Blind bake the crust, then bake the filling until the center reaches about 175°F and still jiggles slightly.
- Refrigerate the cooled pie within two hours of baking; it keeps 2 to 4 days in the fridge.
In this guide
- Sugar pumpkin or canned purée
- How to roast and purée a sugar pumpkin
- The custard: ingredients and ratios
- Blind baking the crust
- Filling, baking and knowing when it’s done
- Cooling without cracks, and storing the pie
- FAQ
- Plan your pie two days out
Sugar pumpkin or canned purée
You can make a terrific pie with either, so this is really a question of time and texture.
What’s actually in the can
People are often surprised to learn that canned pumpkin doesn’t come from the orange jack-o’-lantern type. According to Iowa State University Extension, the main source of commercial pumpkin purée is the ‘Dickinson’ pumpkin, which belongs to Cucurbita moschata, the same species as butternut squash. It’s still a pumpkin, just a tan, oblong one bred for dense, sweet flesh.
That’s why canned purée is so consistent. It’s thick, smooth and reliably dry, which makes it a good baseline even if you plan to go fresh.
Why a sugar pumpkin
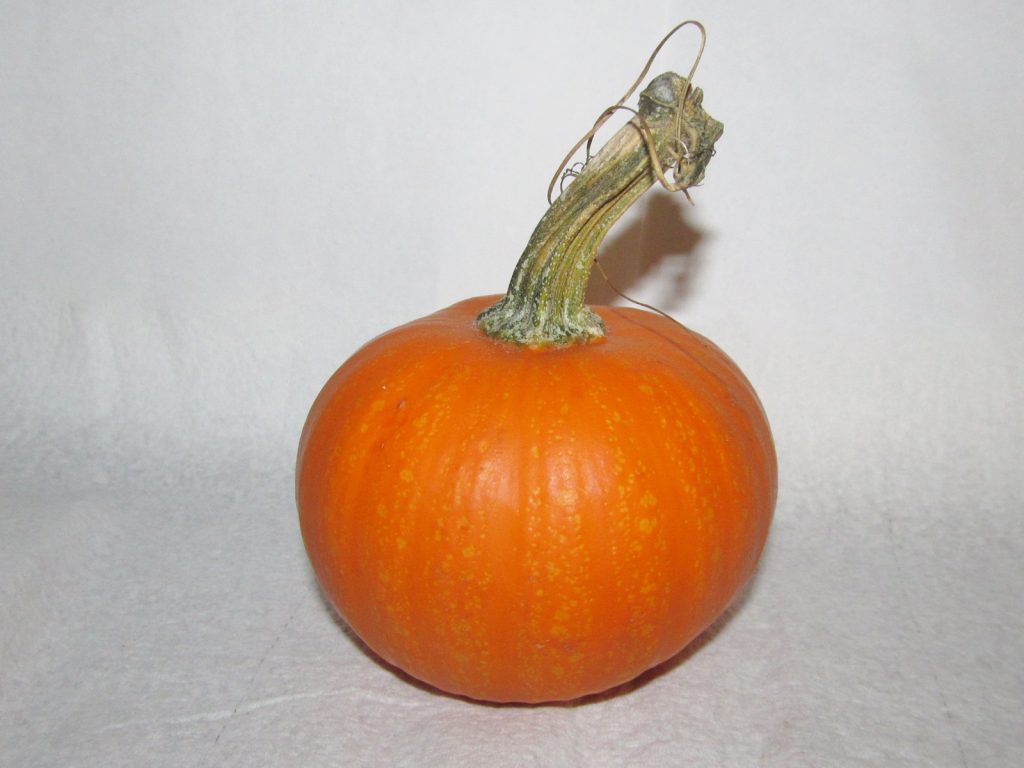
If you want to cook from a whole pumpkin, look for ones sold as sugar pumpkins or pie pumpkins. They’re small, usually two to four pounds, with heavy, fine-grained flesh. Large carving pumpkins are grown for size and a thin wall, and their flesh tends to be watery, stringy and bland.
- Choose a pumpkin that feels heavy for its size, with a firm, dry stem and no soft spots.
- Expect roughly 1 1/2 to 2 cups of drained purée from a small pumpkin, but it varies, so buy two if you’re unsure.
- Swap freely. Butternut squash roasts up sweet and dense and works well in this recipe.
How to roast and purée a sugar pumpkin
- Heat the oven to 400°F and line a sheet pan with parchment.
- Halve the pumpkin from stem to base with a heavy knife. Scrape out the seeds and strings with a sturdy spoon.
- Roast cut-side down for 45 to 60 minutes, until a knife slides into the thickest part with no resistance and the skin puckers.
- Cool and scoop. When it’s comfortable to handle, scoop the flesh away from the skin.
- Purée in a food processor or with a stick blender until completely smooth.
- Drain. Set a fine sieve lined with a coffee filter or cheesecloth over a bowl, add the purée and refrigerate for a few hours or overnight.
The draining step is the one most people skip. Fresh purée can hold a surprising amount of liquid, and every spoonful of that water ends up in your crust. You want it about as thick as canned purée, holding a soft peak on a spoon.
Roasted purée keeps well. Refrigerate it in a covered container and use it within a few days, or freeze it in two-cup portions so you have exactly what one pie needs.
A great pumpkin pie is mostly a lesson in controlling water: dry purée, dry crust, gentle heat.
The custard: ingredients and ratios
Pumpkin pie is a baked custard. Eggs set the filling, dairy makes it creamy, and sugar and spice carry the flavor. This makes one deep 9-inch pie.
- 2 cups (about 425 g) thick pumpkin purée, fresh and drained or canned
- 3 large eggs
- 3/4 cup packed light brown sugar
- 1 cup heavy cream plus 1/2 cup whole milk, or 1 1/2 cups evaporated milk
- 1 1/2 teaspoons ground cinnamon
- 1 teaspoon ground ginger
- 1/4 teaspoon each ground nutmeg and ground cloves
- 1/2 teaspoon fine salt
- 1 teaspoon vanilla extract
How the ratio works
Think of it as roughly two parts purée to one and a half parts dairy, set by three eggs. More eggs make a firmer, sliceable filling that can turn rubbery. Fewer eggs make a silkier pie that needs more care to set. Heavy cream gives the richest texture; evaporated milk gives a slightly firmer, more old-fashioned custard.
| If you want | Adjust | Trade-off |
|---|---|---|
| A softer, silkier slice | Use 2 eggs plus 1 yolk | Takes a little longer to set; handle gently |
| A firmer, cleaner cut | Keep 3 eggs; use evaporated milk | Slightly less creamy |
| Deeper flavor | Cook the purée with the sugar and spices for 5 minutes first | One more pan to wash |
| Less sweetness | Cut the sugar to 1/2 cup | Spices taste sharper |
That last idea in the table is worth trying once. Simmering the purée with the sugar and spices drives off extra water and blooms the spices. Let it cool before whisking in the eggs.
Blind baking the crust
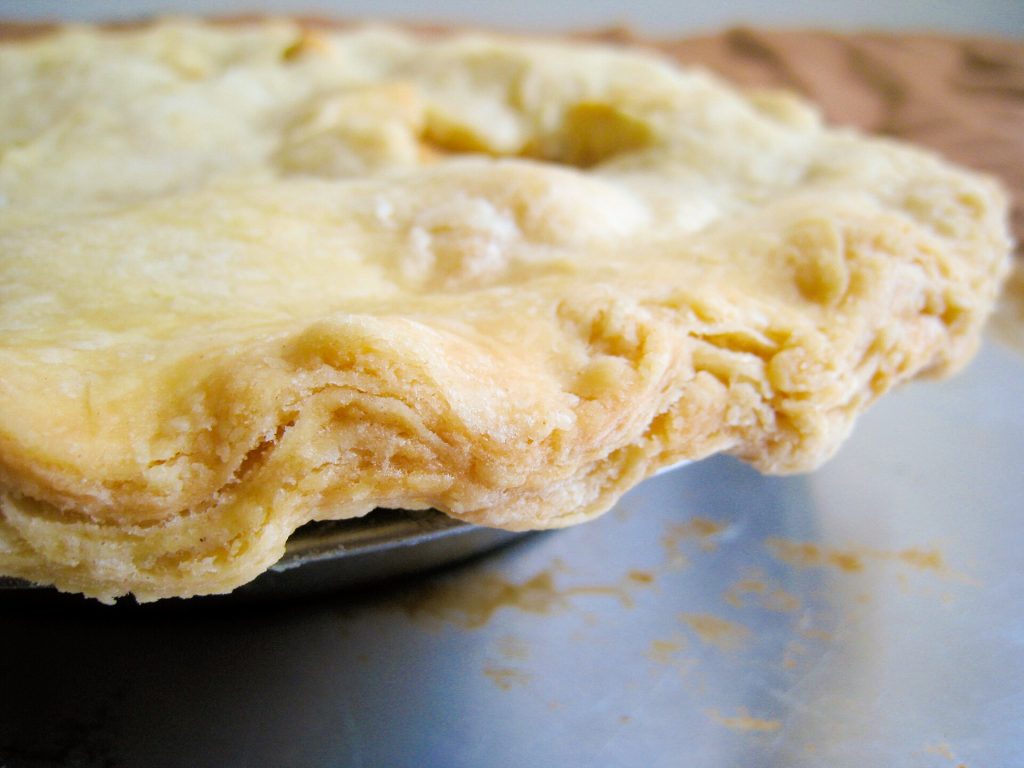
A wet custard poured into raw pastry almost always gives you a pale, soft bottom. Blind baking, or partly baking the empty crust first, fixes that.
- Roll and chill. Fit your dough into a 9-inch pie plate, crimp the edge, and chill it for at least 30 minutes so it holds its shape.
- Line and weigh. Line the chilled crust with parchment and fill it to the rim with pie weights, dried beans or rice.
- Bake at 375°F for about 20 minutes, until the edges are set and just starting to color.
- Remove the weights and bake another 8 to 10 minutes, until the bottom looks dry and lightly golden.
- Seal it. Brush the hot crust with a little beaten egg and return it to the oven for a minute. This forms a thin barrier against the filling.
If you’re short on time, a store-bought crust works, and it benefits from blind baking just as much. For more on pastry, see our guide to flaky pie crust.
Filling, baking and knowing when it’s done
- Lower the oven to 350°F and set the partly baked crust on a sheet pan, which makes it easier to move.
- Whisk the filling. Beat the eggs, then whisk in the purée, sugar, spices, salt and vanilla. Add the dairy last. Whisk gently; too much air leads to a foamy top.
- Fill the warm crust on the oven rack so you don’t have to carry a brimming pie across the kitchen.
- Bake for 45 to 60 minutes. Cover the crimped edge with foil or a pie shield if it browns too fast.
The doneness tests
The most reliable signal is temperature. America’s Test Kitchen advises baking pumpkin pie until the center reaches 175°F on an instant-read thermometer, and checking that the center still jiggles slightly, because it keeps setting as it cools.
- Jiggle test: nudge the pan. The outer two inches should be firm and the center should wobble like set gelatin, not ripple like liquid.
- Knife test: a thin knife slid in about an inch from the edge should come out clean. The center won’t pass this yet, and that’s fine.
- Thermometer: about 175°F in the center. Go much past that and the eggs tighten, weep and crack.
Cooling without cracks, and storing the pie
Why pumpkin pies crack
Cracks almost always mean the custard was overbaked, or cooled too fast. As egg proteins overheat they squeeze together and shrink, and the surface splits. Pulling the pie at the jiggly stage is the main cure.
- Bake at a moderate 350°F rather than a hot oven.
- Take it out while the center still wobbles.
- Let it cool slowly on a rack at room temperature, away from drafts.
- If a crack appears anyway, a spoonful of whipped cream hides it well.
Storing it safely
Because it’s made with eggs and milk, pumpkin pie belongs in the fridge. Iowa State University Extension points to USDA guidance that egg-rich pies be refrigerated after baking and cooling unless they’ll be served within two hours. It says homemade pumpkin pie keeps 2 to 4 days in the refrigerator and can be frozen, whole or in slices, for best quality for about 1 to 2 months.
The same two-hour limit applies once it’s out on the table. The USDA’s leftovers guidance says to refrigerate within 2 hours, or within 1 hour when the temperature is above 90°F. Cover the pie loosely once it’s cold so condensation doesn’t make the top soggy.
FAQ
Can I use a carving pumpkin?
You can, but expect a watery, bland purée. Drain it thoroughly and consider cooking it down on the stove to concentrate the flavor.
Can I make pumpkin pie a day ahead?
Yes, and it’s a good idea. The custard sets fully overnight in the fridge and slices more cleanly. Keep it covered and chilled.
Why is my filling watery?
Usually the purée was too wet or the pie was underbaked. Drain fresh purée well and bake until the center reaches about 175°F.
Should pumpkin pie be served warm?
Pumpkin pie is best cool or at room temperature, once the custard has set. Warm pie slices messily.
Plan your pie two days out
Roast and drain the pumpkin two days before you need the pie, blind bake the crust and fill it the day before, and let the fridge finish the job overnight. On the day, all you’ll do is whip cream. For more holiday bakes, browse our recipe collection or try homemade whipped cream on top.
Featured photo: Pumpkin Pie by Peggy Greb, CC0.