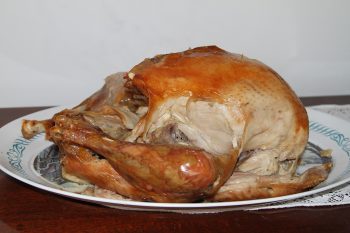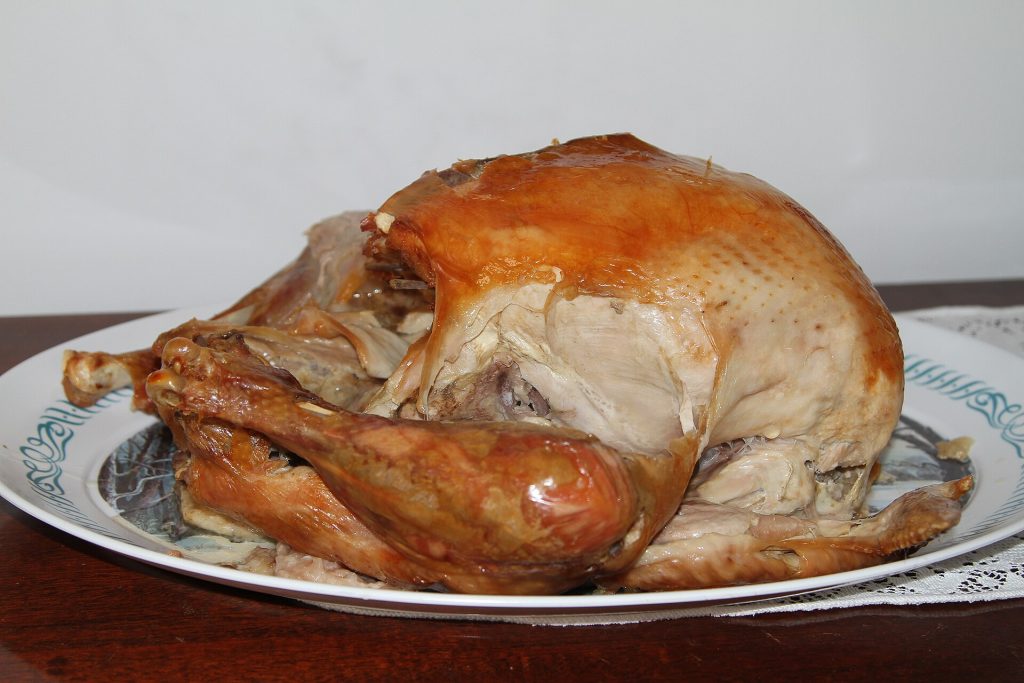
In the dry brine vs wet brine debate, dry brining wins for most home cooks. Rubbing salt straight onto the turkey gives you well-seasoned meat, crisper skin and no bucket of salty water to find room for. A wet brine makes the bird slightly juicier and more forgiving if you overcook it, but the skin browns less readily and it takes a lot of fridge space.
Both methods work because of the same thing: salt. The differences are in the ratios, the timing, and whether you can keep a whole turkey cold while it happens.
Here is how salt changes the meat, exact ratios and timings from university extension services, how to brine safely, and what to do with a kosher or pre-brined bird.
Key takeaways
- Dry brining is easier, takes less space and gives crisper skin; wet brining adds a little more moisture.
- Illinois Extension’s wet brine uses 4 cups kosher salt or 2 cups table salt in 2 gallons of cold water for 6 to 8 hours.
- USU Extension says a dry-brined bird needs at least 1 hour per pound in the refrigerator, uncovered.
- USDA-based guidance: keep the turkey and brine at 40°F or below, and don’t brine longer than two days.
- Don’t wash the raw bird before brining, and taste a kosher turkey before adding more salt.
How salt makes turkey juicier
Salt does more than season the surface. As University of Wisconsin–Madison Extension brining tips explain, the salt in a brine dissolves a bit of the protein in the muscle fibers, which lets the meat absorb the brine and hold onto moisture during cooking. Turkey is lean, so that extra insurance matters.
Utah State University Extension describes the two methods neatly. A wet brine saturates the turkey in salt water, and the salt helps the muscles retain the liquid. A dry brine is kosher salt, often with herbs and spices, rubbed onto the skin and sometimes under it.
With a dry brine, the salt first draws moisture out of the meat, dissolves in it, and is then pulled back in. You get the seasoning deep in the meat without adding extra water. That’s why dry-brined turkey tastes more like turkey, while a wet-brined bird can taste faintly diluted.
A wet brine adds water. A dry brine adds seasoning. That one difference explains almost every result you’ll see on the table.
Wet brine vs dry brine at a glance
| Wet brine | Dry brine | |
|---|---|---|
| What it is | Turkey submerged in salt water | Salt rubbed directly on the bird |
| Juiciness | Slightly more moisture added | Well seasoned, natural texture |
| Skin | Harder to crisp; must be dried well | Dries in the fridge, browns and crisps well |
| Space | A bucket, cooler or brining bag | A rimmed tray on a fridge shelf |
| Timing | Hours to overnight | At least 1 hour per pound, up to a few days |
| Mess | Gallons of raw-poultry brine to discard | Minimal |
| Best for | Cooks who fear overcooking | Most home cooks, especially with small fridges |
Wet brining: ratios and timing
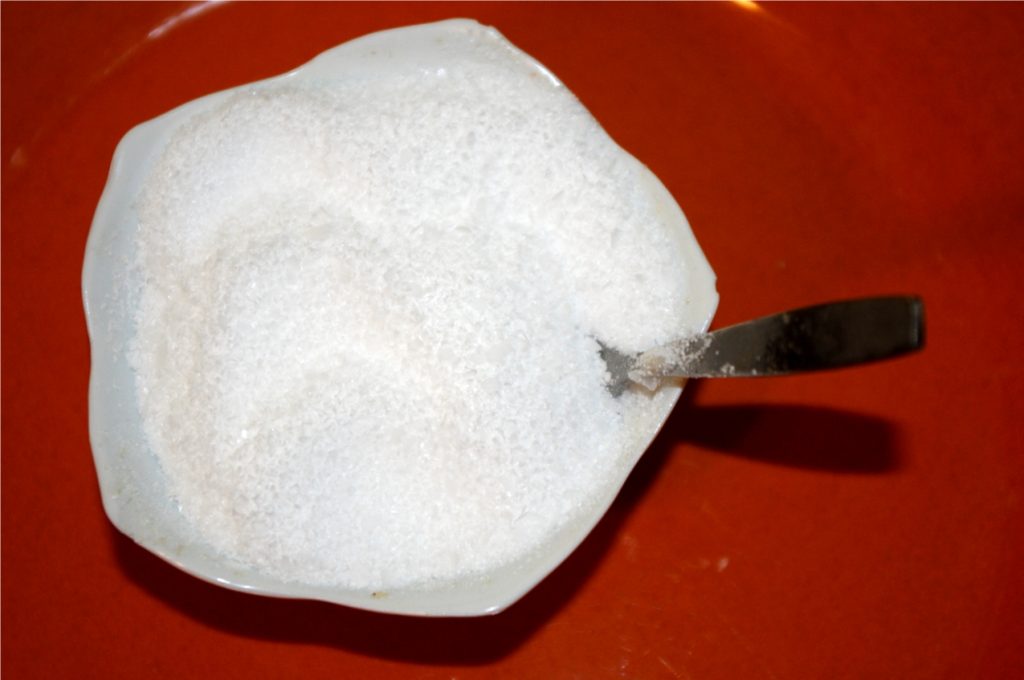
University of Illinois Extension gives a clear starting ratio: 4 cups kosher salt or 2 cups table salt in 2 gallons of cold water, plus 1 cup of sugar, for 6 to 8 hours. For an overnight brine, it recommends cutting the salt and sugar by half so the turkey doesn’t come out too salty.
- Make the brine. Dissolve the salt and sugar in part of the water. If you heat it to dissolve, cool it completely before the turkey goes in.
- Choose a container. Food-grade plastic, stainless steel, glass, or a brining bag that fits in your refrigerator.
- Submerge the bird. Place it breast-side down and add the rest of the cold water so it’s covered.
- Keep it cold. Refrigerate the whole time, or use a cooler with ice packs as described below.
- Dry it well. Lift the turkey out, discard the brine, pat it very dry with paper towels, and ideally leave it uncovered in the fridge for a few hours so the skin can dry.
Note the salt swap. Illinois Extension recommends crystal kosher salt, and its recipe uses half as much table salt by volume because table salt packs more densely. Measure by the type you actually have.
Dry brining: ratios and timing
Dry brining is the simpler route. USU Extension’s dry-brine rub mixes kosher salt with herbs, citrus zest and spices, bound with a little oil or butter, and uses 1/2 cup kosher salt for a whole bird.
- Pat the turkey dry. Remove the giblets and neck from the cavities.
- Salt evenly. Rub the salt mixture over the skin, into the cavity, and under the breast skin where you can reach.
- Rack it. Set the bird on a rack over a rimmed baking sheet, or in the pan you’ll roast it in, to catch drips.
- Refrigerate uncovered. USU Extension says to allow at least 1 hour per pound, so a 14-pound turkey needs at least 14 hours, and that after a few days the salt will have done its job.
- Roast as usual. No rinsing needed. The dry skin browns beautifully.
Leaving the bird uncovered is what gives dry brining its crisp-skin reputation. The fridge air dries the surface over a day or two, so it browns fast in the oven.
Fridge space and food safety
Space is the real deciding factor for many kitchens in late November. The Wisconsin Extension guidance, based on USDA advice, is firm: always keep the turkey and brine refrigerated at 40°F or below, and don’t brine any longer than two days. It also notes that fresh turkeys are only safe in the refrigerator for one to two days, so count your brining time as part of that window.
If the fridge is full
A wet-brined turkey in a bucket can take an entire shelf. If you can’t fit it, Illinois Extension says a cooler works, as long as you use 5 to 6 ice packs to keep the turkey and brine at 40°F or below for the entire brining time. Check with a thermometer rather than guessing. A dry-brined bird on a sheet pan is much easier to fit, which is a big part of its appeal.
Clean up and cook through
Treat the used brine like raw poultry juices: pour it away carefully and sanitize the container, sink and any splashed surfaces. Whatever method you use, roast until the thickest part of the thigh reaches 165°F on a food thermometer. For more on the roast itself, see our roast turkey tips.
The rinsing question, and birds you shouldn’t brine
To rinse or not to rinse
Plenty of cooks still rinse the turkey out of habit. Before brining, don’t. The Wisconsin Extension tips say plainly not to wash the bird before brining, because washing raw poultry can cause cross-contamination around your sink and counters.
After brining, advice differs. Illinois Extension’s wet-brine recipe rinses the bird under cold running water, while USU Extension says there’s no need to rinse because there shouldn’t be salt residue on the outside. For a dry brine, skip it. For a wet brine that tastes salty to you, a careful cold rinse is fine, followed by a thorough cleanup.
Kosher and pre-brined birds
Kosher turkeys are already salted. As Tablet magazine explains, after plucking the bird is soaked, packed inside and out with salt, rested for an hour and then rinsed. Opinions differ on whether to brine one further, since many are less salty than they used to be. Its practical advice is to taste a small piece of the skin first: if it’s salty, skip the brine.
Also read the label on any supermarket bird. If it says it contains a solution, or is described as pre-brined, enhanced or self-basting, it has already been seasoned, so adding a full brine risks an overly salty turkey.
FAQ
Which is better for turkey, dry brine or wet brine?
For most people, dry brine. It’s easier, uses less space and gives crisper skin. Wet brine adds a little more moisture if you’re worried about a dry breast.
How long should I dry brine a turkey?
At least 1 hour per pound in the refrigerator, according to USU Extension, and up to a few days for the best results.
Can I brine a turkey that’s still partly frozen?
It’s best to thaw it fully first so the salt can reach the meat evenly. Thaw in the refrigerator and plan extra days for a large bird.
Do I still need to salt a brined turkey?
No. Season the cavity with herbs and aromatics if you like, but hold back on extra salt, including in any butter rub.
Choose your method this week
Measure your fridge shelf tonight. If a bucket won’t fit, dry brine, and start 2 to 3 days before you roast. Then plan the rest of the meal with more of our cooking tips and our make-ahead gravy guide.
Featured photo: Roast turkey from fall season by Jim, the Photographer, BY 2.0.